Certainly, many have seen the Diamond Painting pen that has a wheel on one side. I have heard many different reviews about this wheel pen and decided to give it a try myself. Honestly, I did not have very high hopes for the pen, but I was a bit surprised.
What I bought
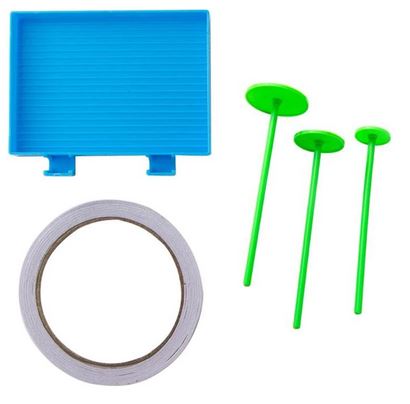
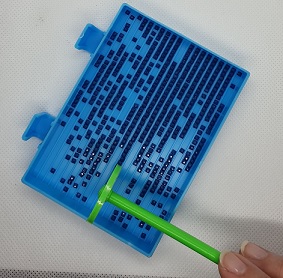
When I bought the pen, it was not just a pen, but I bought a small package of things. It contained three pencils (where the wheel is in different sizes), a tape that you put around the wheel and a tray for drills. The largest wheel is 5 cm ( about 1.9 inches) in diameter, the size is 4 cm (about 1.5 inches) in diameter and the smallest wheel is 3 cm (about 1.1 inches) in diameter. I bought this on AliExpress from the store named Kitchen Daily Store, if you want to buy a similar package you can do this here: wheel pen package.
Assemble the wheel pen
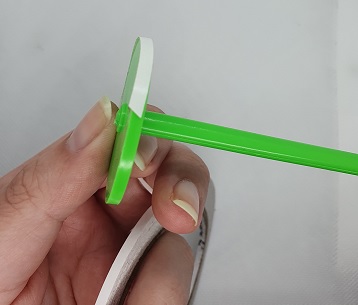
The first thing to do is to attach the thin double-sided adhesive tape around the edge of the wheel. This is so that the drills have something to attach to, so you do not use the pink wax for these pens. I thought it was a bit finicky to get the tape in place, but not so bad that it is not possible. The white you see in the picture below is protective plastic that you remove when using the pen. This plastic is good to save so you have some protection for the tape when not using the wheel.
Drills onto the wheel
Once the tape is in place you need to roll the wheel in a tray with drills so that the drills stick to the wheel. This requires a little patience and a fairly large tray, the one included in the package works great. You need to make the drills lie in a row in the tray. Since the wheel has a large diameter, you need to have quite a few in a row. Once you have the drills lined up, you simply roll the wheel over the drills to get them to stick to it.
Drills on the canvas
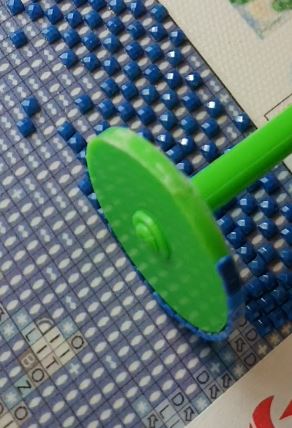
Once the drills are on the pen, it’s time to get them on the canvas. Take the pen with the drills and place it on the canvas. Roll the pen along with a row of similar symbols on the canvas. Now it can get a little tricky as you have to roll the pen straight so the drills end up in a straight line.
My opinion
I was surprised that it was so easy to use the wheel pen. My expectation was that the drills would not stick to it and that it would be difficult to get it straight. That wasn’t the case at all. It was easy to get the drills stuck to the pen. What took some time, however, was to get many drills in a row in the tray. I used the smallest wheel and I think that to be able to use the bigger one you need a huge tray. Because you want all the drills around the wheel in a roll to get them straight.
In the beginning it was a bit tricky to get the drills to end up straight on the canvas but after a few attempts things went pretty easy. If you have many drills of the same color I can see that you save time by using the wheel pen. However, if you have very mixed colors it is not very helpful.
Note! This post contains ads by affiliate links to AliExpress.


