

There are a lot of smart Diamond Painting tips out there and here you will find three of them. Do you have any smart tips that is not listed? Please comment below with your smart Diamond Painting tips and share it. You can read more tips here: 7 Diamond Painting Tips.
The adhesive edge
Do you irritate yourself on the sticky edge around your Diamond Painting? Do you get stuck in it or does it get dirty? You can use the protective plastic used to cover the painting. If you cut it into pieces and put it on the sticky edge. Then the edge has a protection against dirt and you do not get caught in it. The protective plastic is also easy to remove when the painting is ready for framing. If you work on your first painting and do not have a protective plastic to use, you can instead take baking paper.
Blu-tack in the trays pour opening
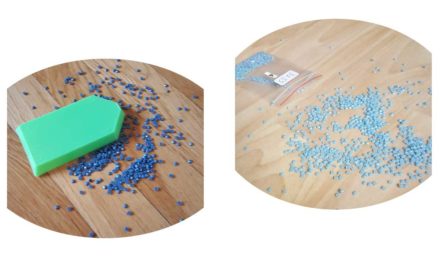
If you have a tray with a pour opening then you probably have spilled the drills out of it. Although the opening is very good for pouring back drills in storage containers, it is not as good when you want the drills to stay in the tray. What you can do is take a piece of blue-tack and put in the opening. This way, the drills do not comes out of the opening and the blu-tack is easy to remove when you want to use the opening to pour back drills.
Checkerboard method
If you have large areas of the same color that you are going to do, it is a good idea to use the checkerboard method. Which means that you put every other drill on the symbol on the canvas. I think the drills get straighter when you place them in this way. You also get a very satisfying click when you put down drills in the holes. This usually also means that the large areas of the same color become less boring to do.


